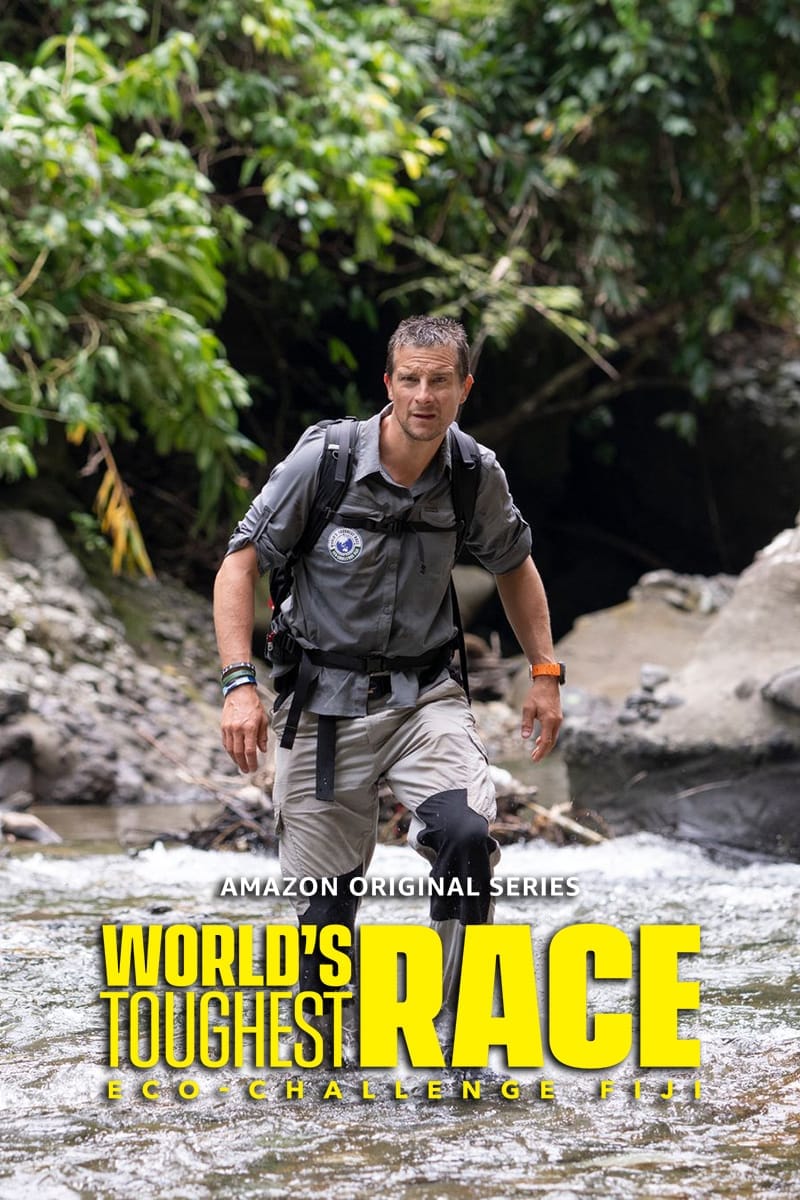
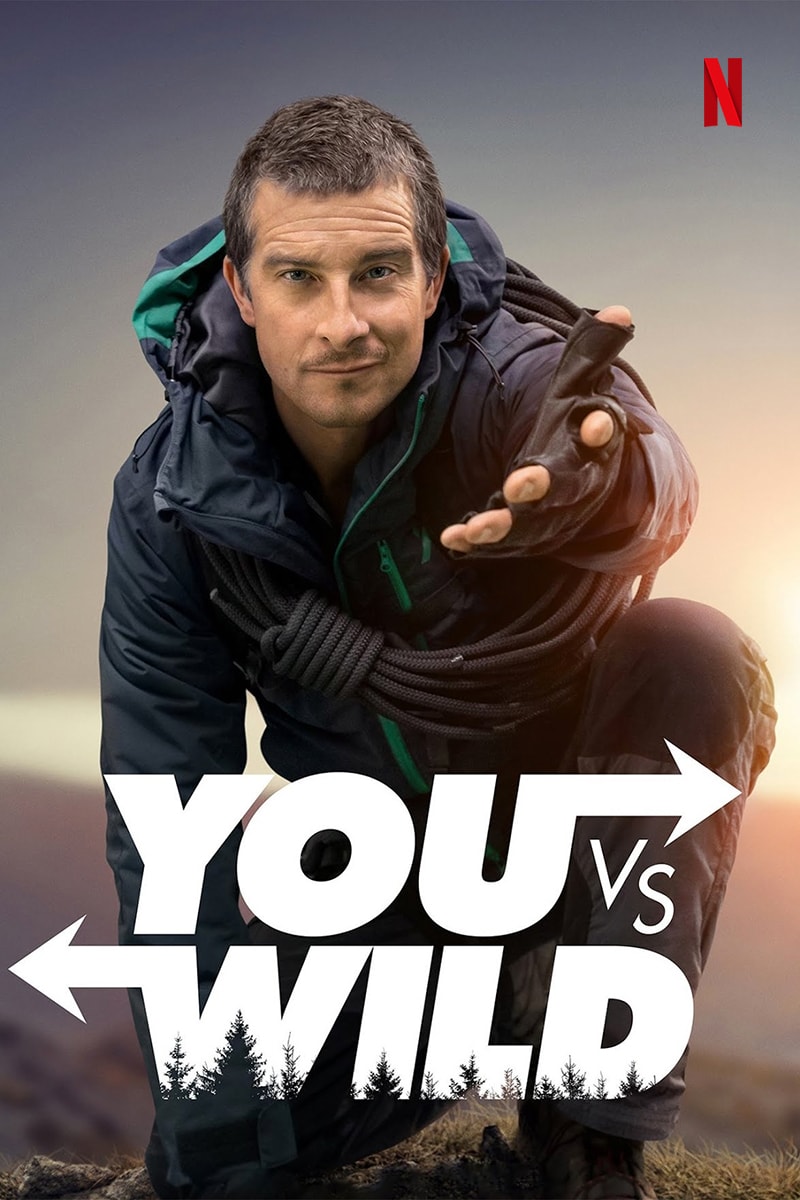
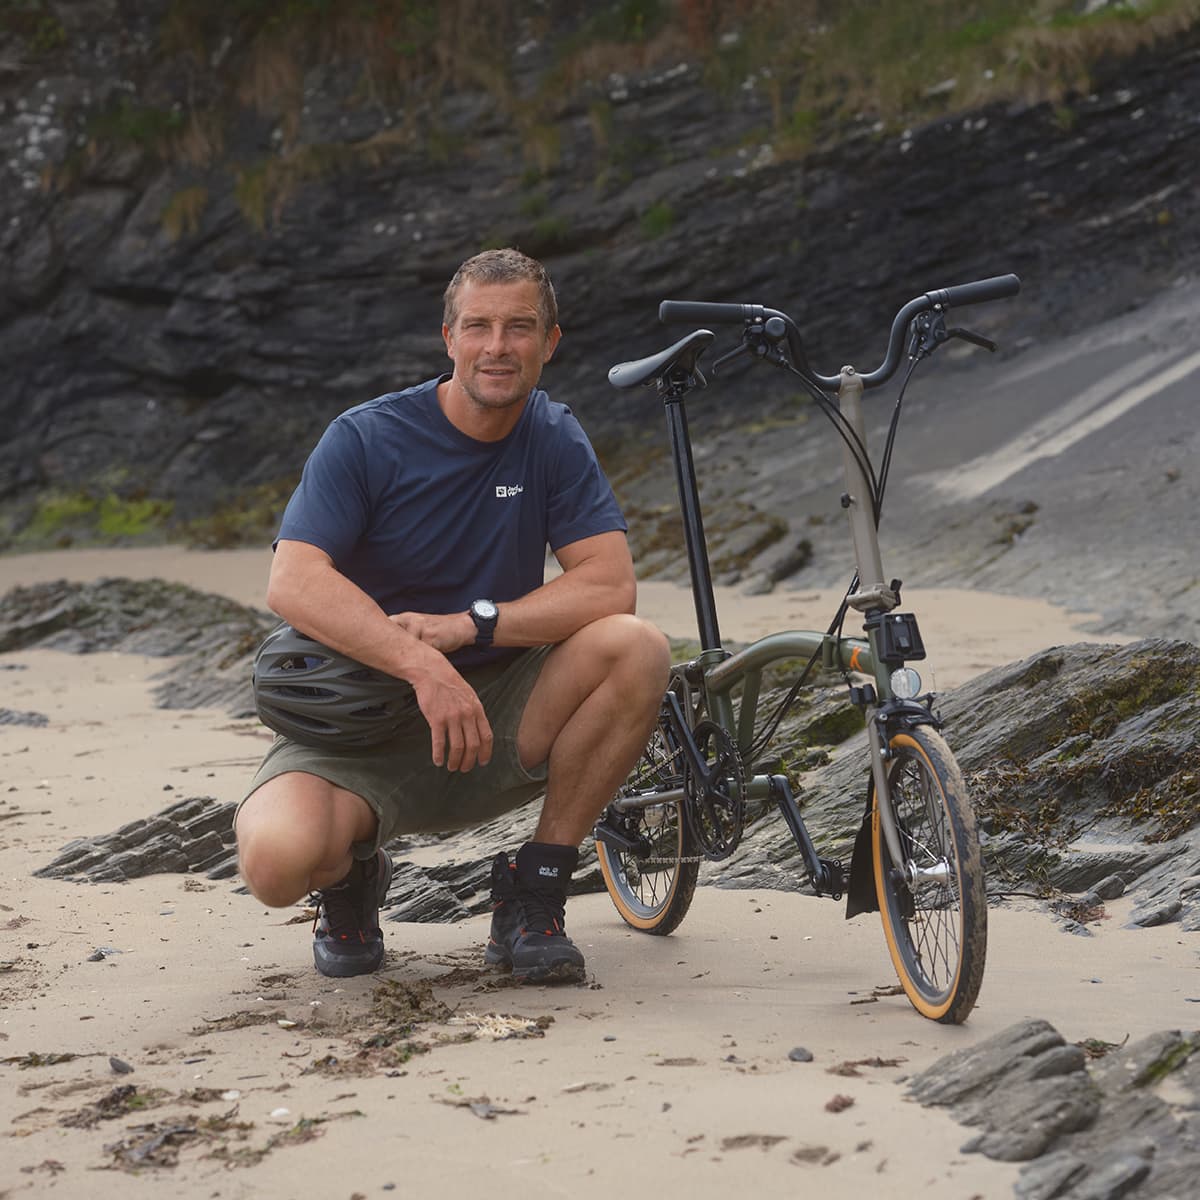
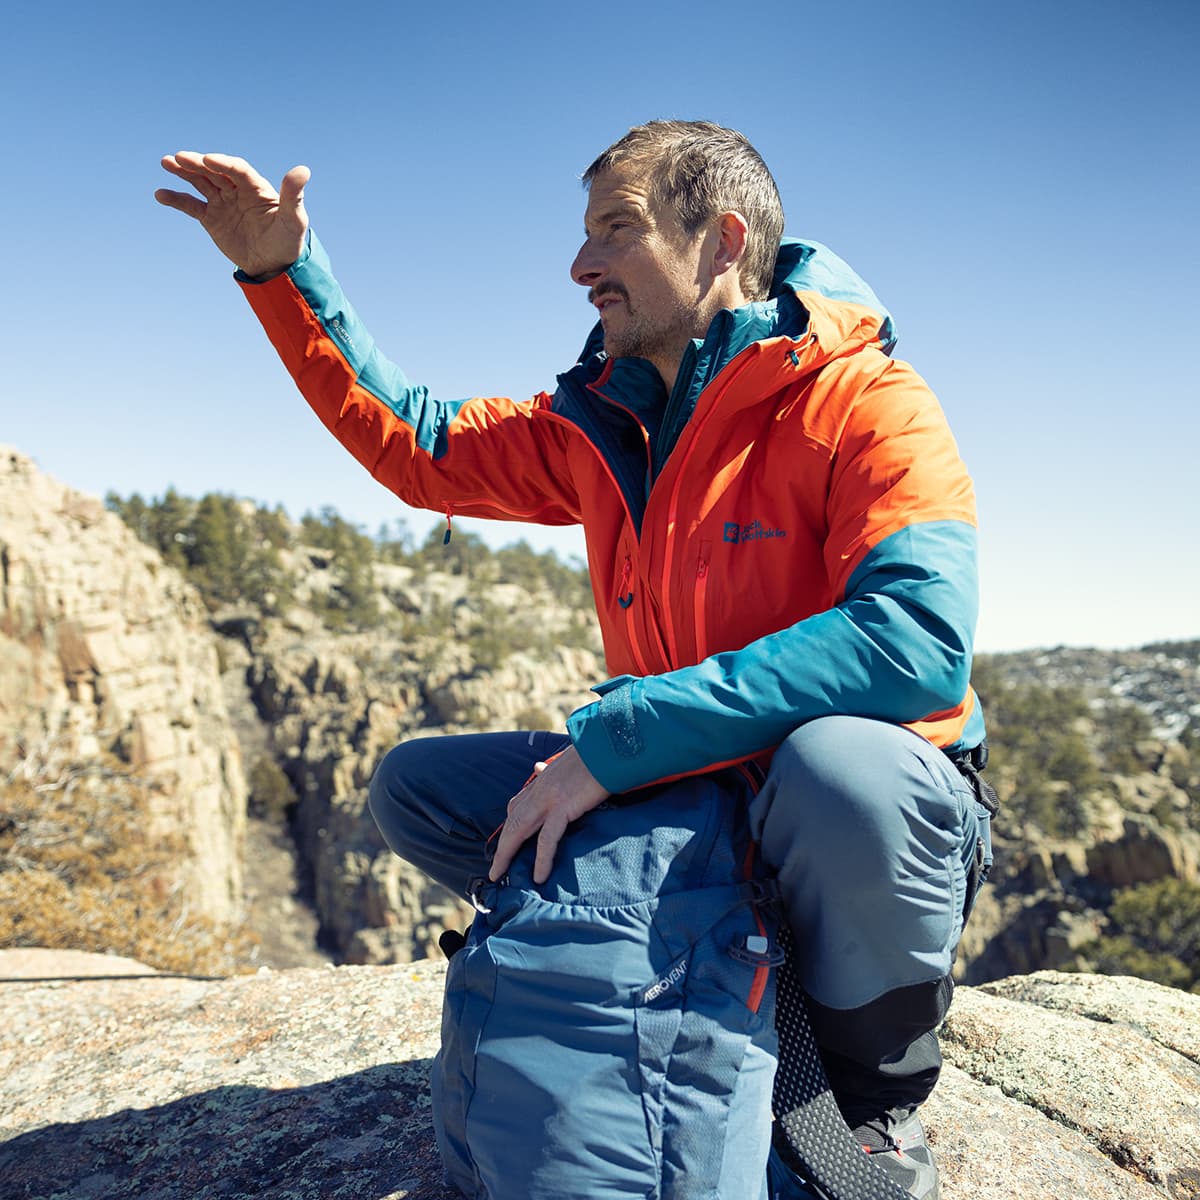
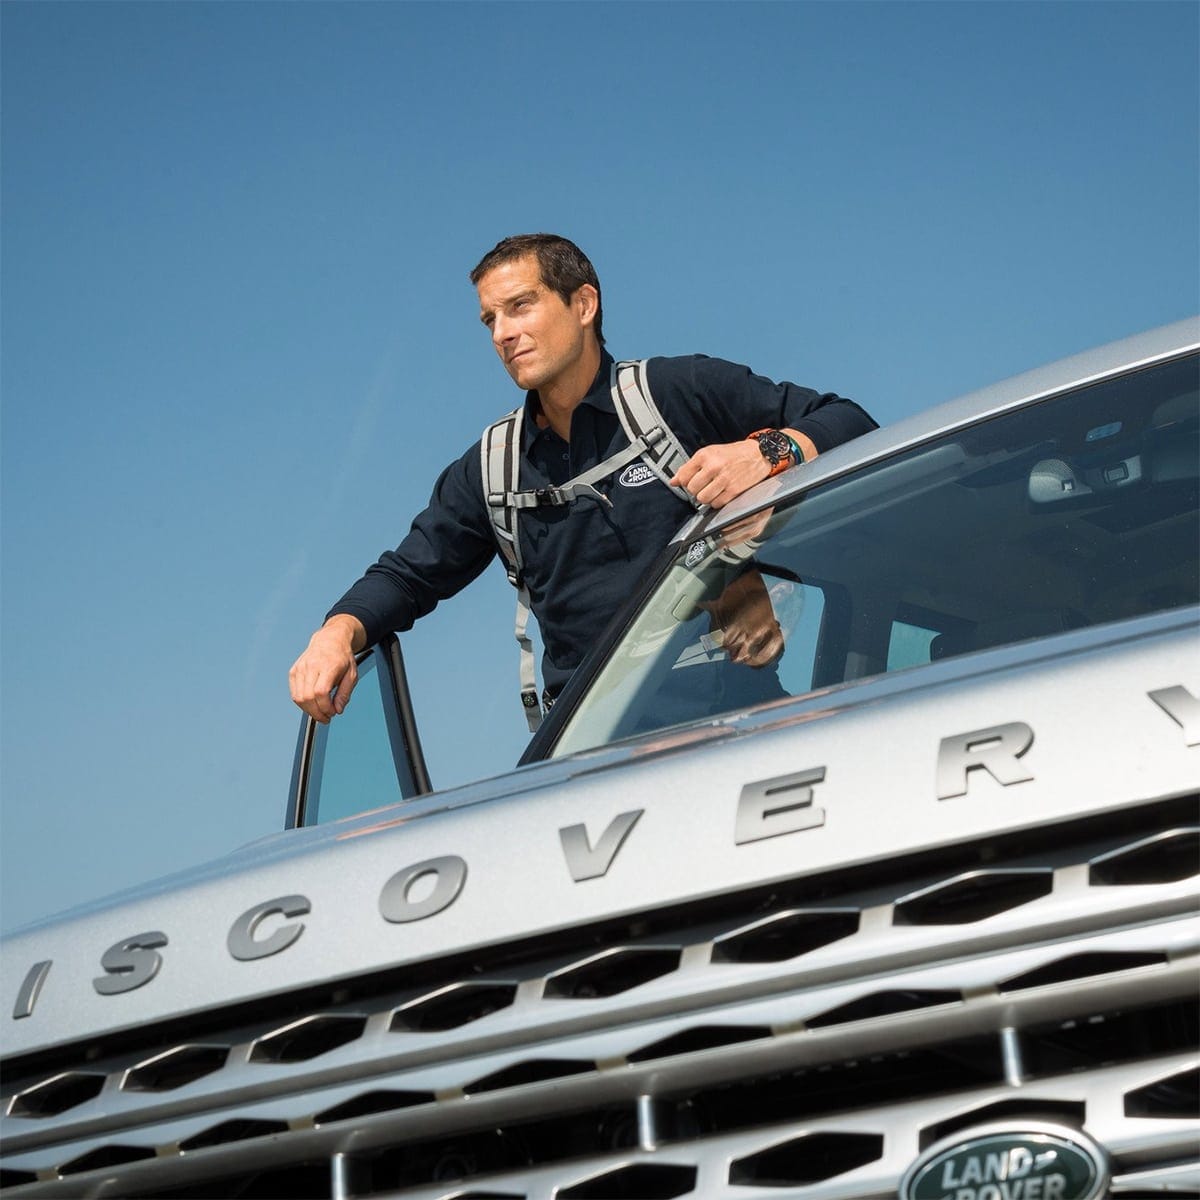
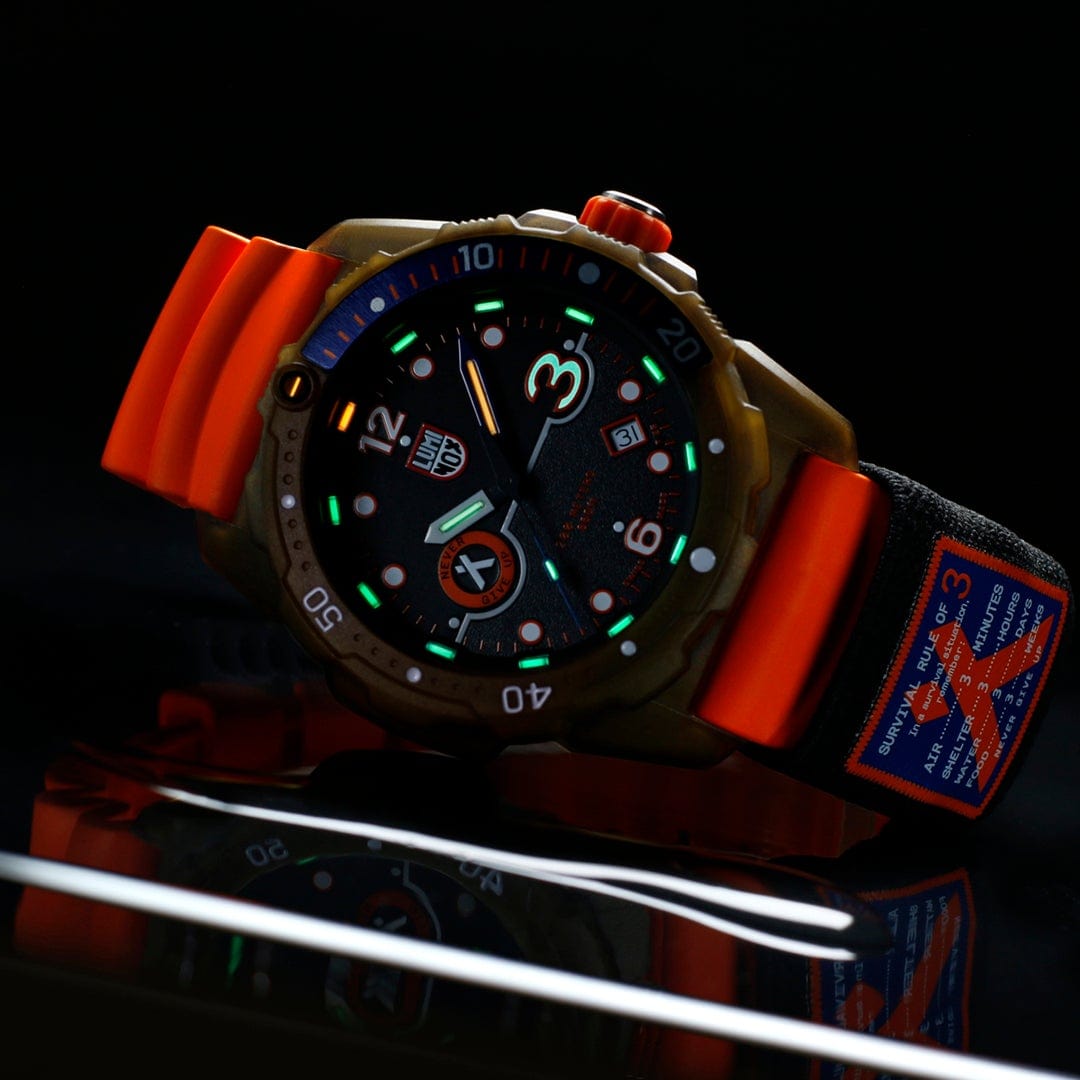
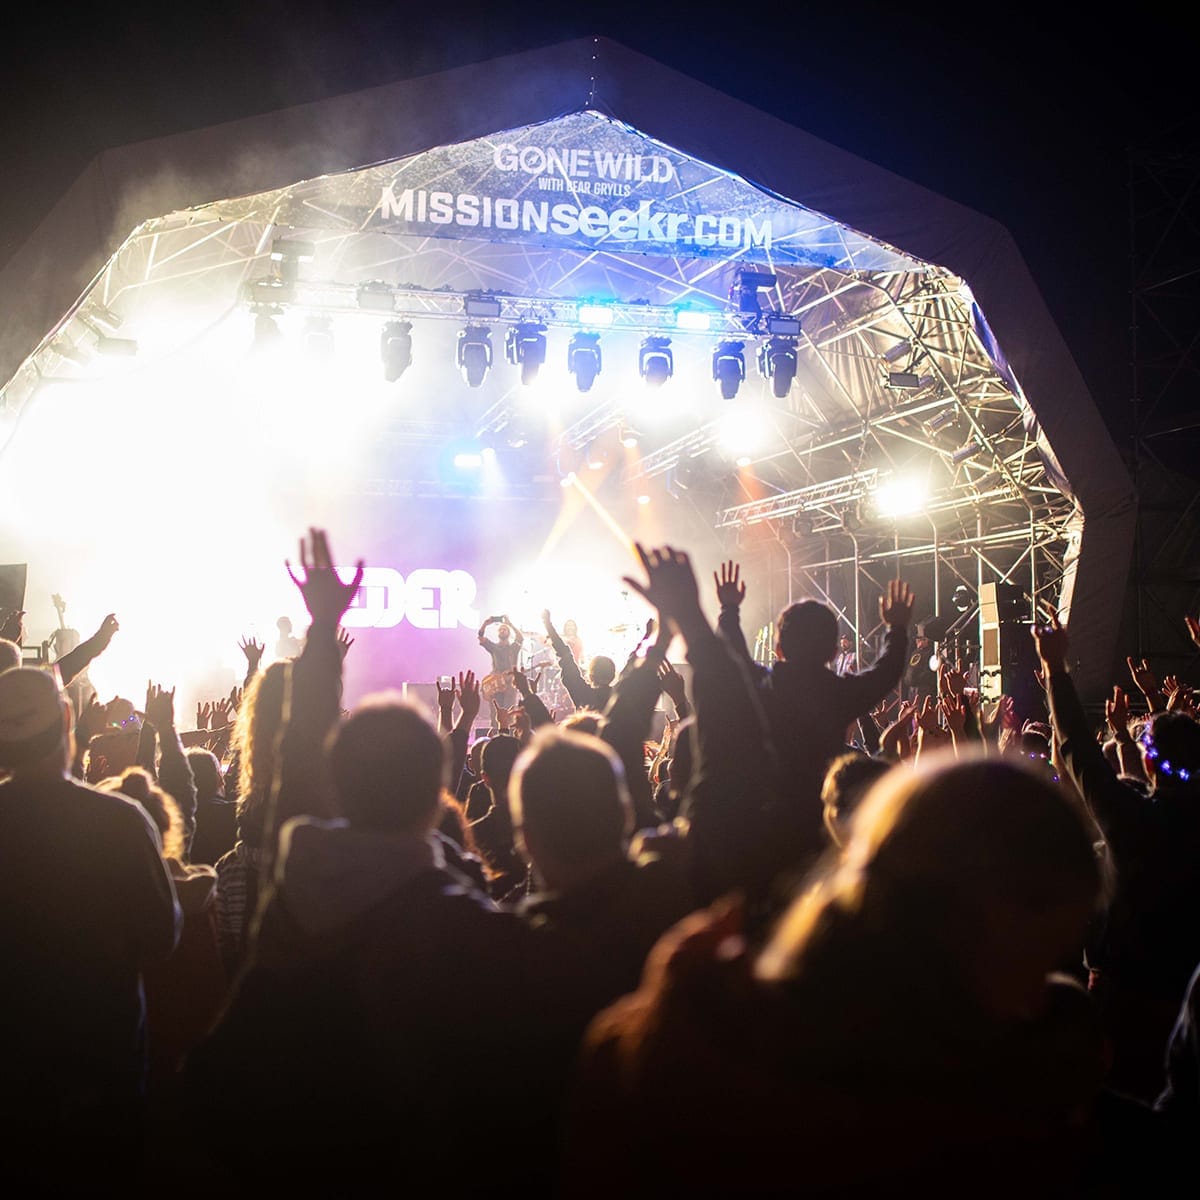
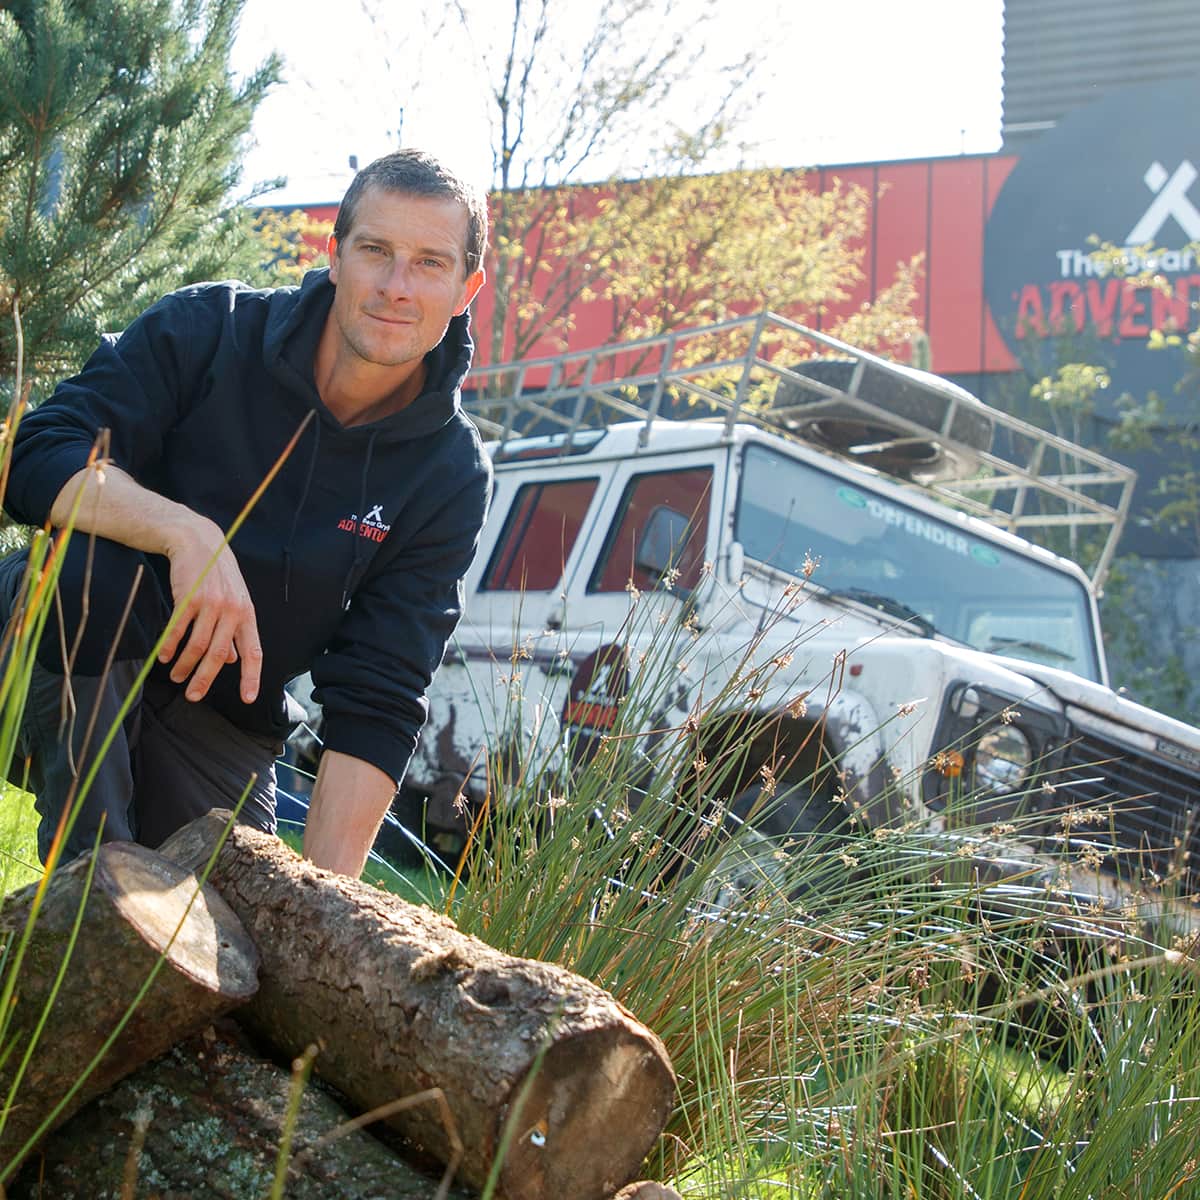
How to Build a Raft

Building a raft with your children can be a really fun hands on learning experience for the family. You might imagine a log raft with a bunch of logs tied together, but these are heavy and can be quite difficult to construct for a child. However, an alternative would be a 'Doughnut Raft'. Floatation devices don't have to be pretty; they just have to do the job! Little tip, if possible, it's best to build your raft near where you plan to launch it, so you don't have to carry it and waste energy.

To build a doughnut raft you'll need some flexible young saplings or strong reeds and a tarpaulin. Drive a few stakes in the ground to form a circle approximately 1m in diameter, and then a smaller inner circle.

Bend all the saplings round the gap in between the two circles to create a doughnut shape. Tie securely at frequent intervals and lift from the stakes. Wrap the tarpaulin around the doughnut, folding the edges over tightly and secure. Now you should have something that resembles a small, round dinghy. You can use a branch as an oar, or better still a branch with a fork in the end, then tie some clothing around the fork to create a paddle.

Another sort of raft is a brush raft. It's principally a construction for floating your pack or equipment downstream, but you can use it as a flotation aid for yourself. Just don't try to sit on it, because it'll probably sink. Think of those floats you use when learning to swim and use it in the same way. The idea is to fill a tarp or other waterproof sheet full of light brush and twigs. Wrap the tarp up and tie it securely. The brush inside will create air pockets, so the bundle will float on water.

If you're using a brush raft to float your equipment, you can either put your pack inside the raft, along with the brush, before tying it up, or you can secure the pack to the raft itself. In this case it's worth making a double-layer raft (you'll need two tarps for this) which will give your gear a better chance of staying dry.